An Overview of MS OneNote
OneNote is the third in my list of three Microsoft apps that you didn't know you need. I have been using OneNote for about three years now, and I don't know how I would function without it anymore. It is central to my organizational system.
Microsoft has both a desktop and a web version of OneNote. The screenshots you see here are from the desktop version. In the desktop version, all of your “notebooks” are on the left. OneNote calls them notebooks, or you can also think of them as folders. If by chance you're using an earlier version of OneNote, the notebooks appear at the top as tabs. Within each notebook or folder, there are “pages.”
I've created notebooks for each of my business clients along with an administrative notebook, where I can keep track of my admin work to run the business. You can color code those notebooks, you can rename them, move them, and so on.
You can get started quickly by adding a blank page. Or, if you go to View, you can add lines to make it look like a notebook, or you can add a grid to look like graph paper. OneNote also offers the ability to change the color of the page. I use that a lot for myself: I will change pages to an orange-red color if items are still in progress, and then change the page to green when it is complete.
When you insert a page, there are a variety of page templates to choose from:
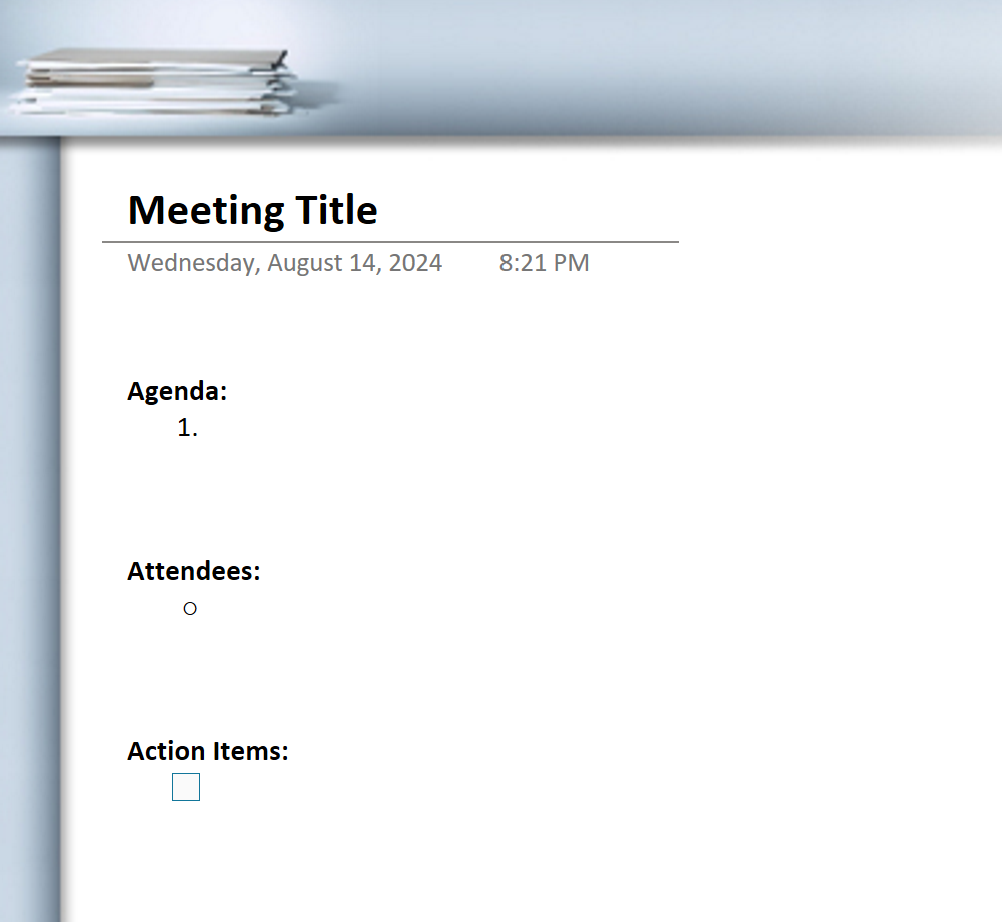
Simple Meeting Notes gives you a layout with an agenda, the attendees, and action items.
Simple Meeting Notes 2 has a slightly different layout, but it’s the same concept.
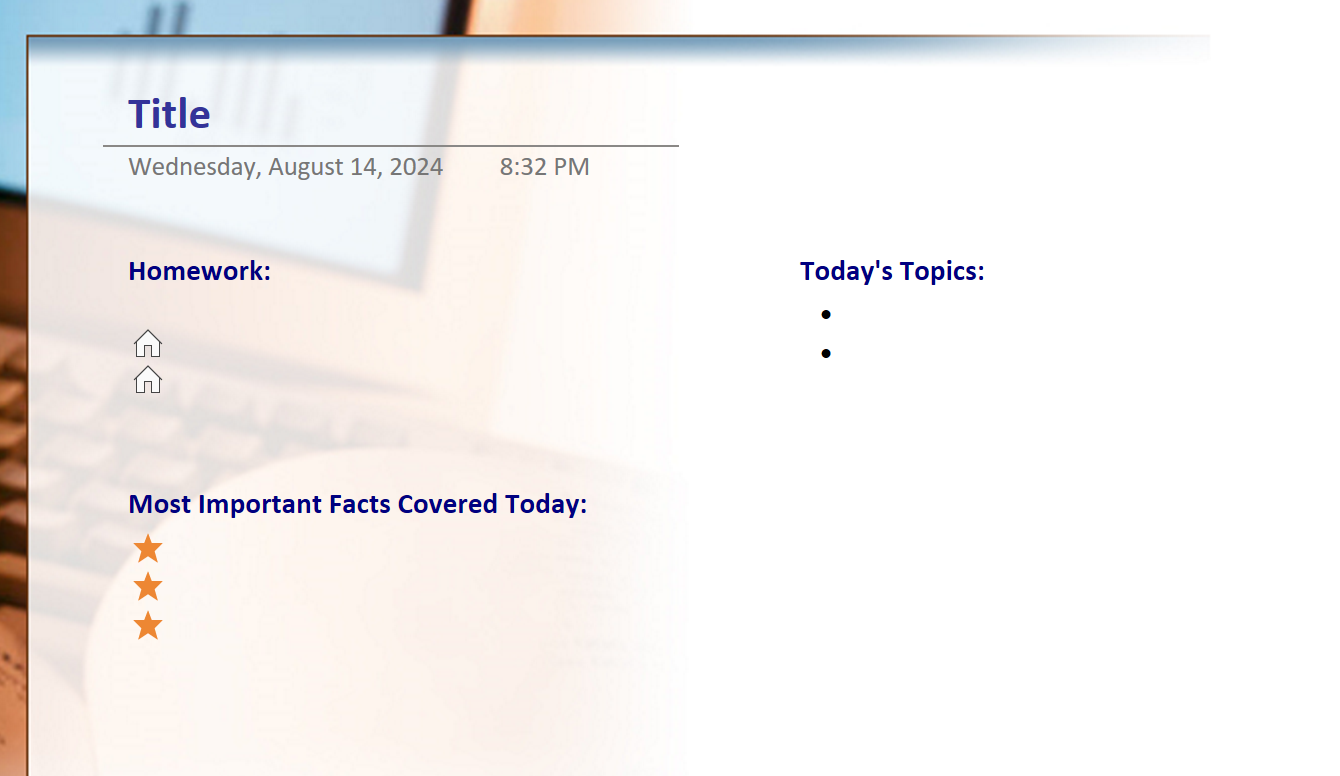
Lecture Notes, if you are taking a class, has sections for homework, topics, and what's covered for the day.
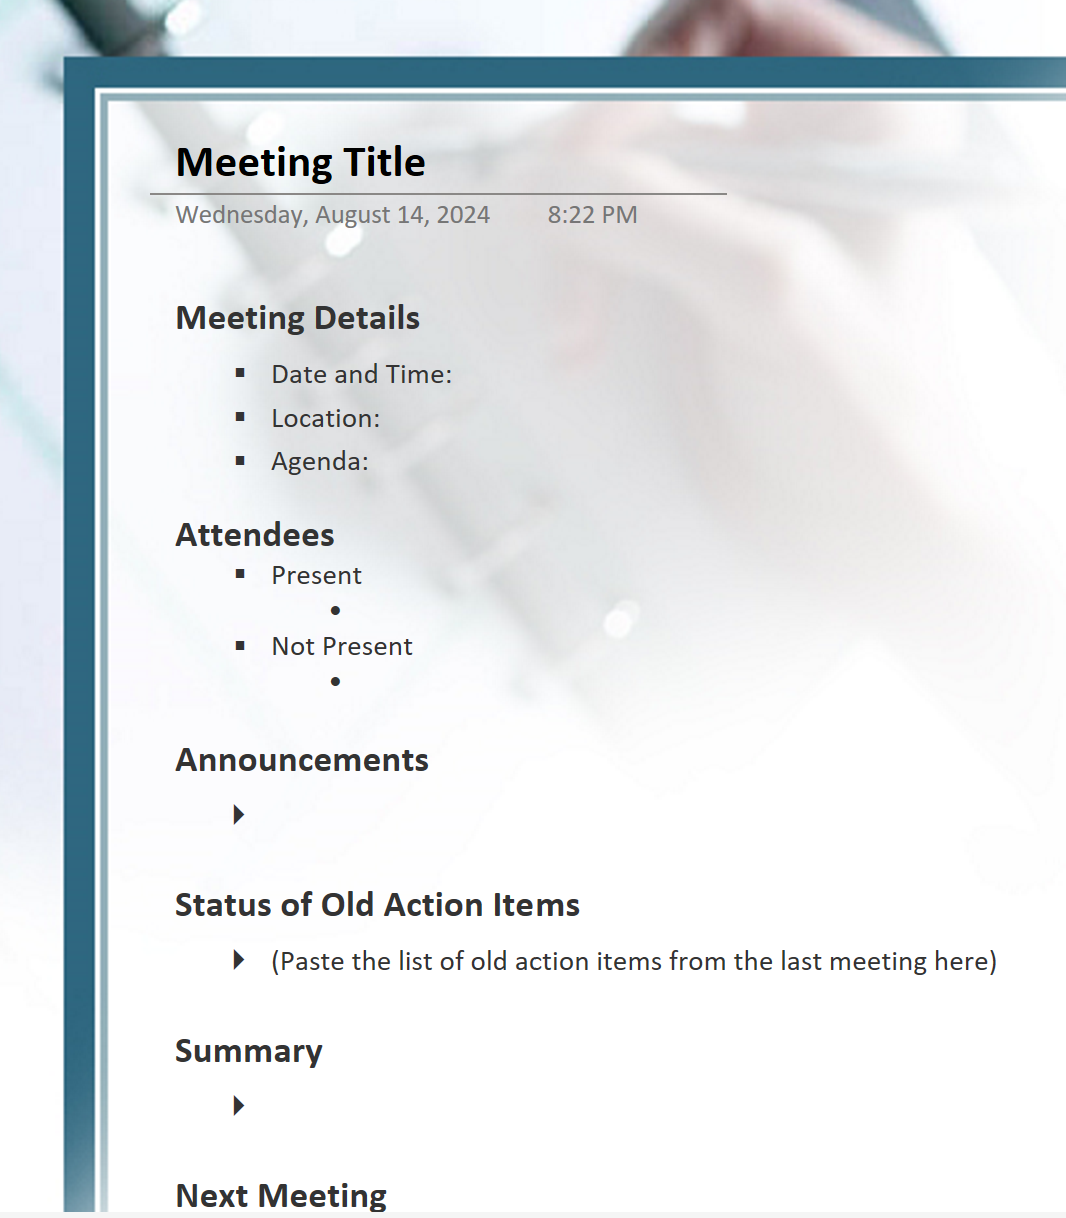
Detailed Meeting Notes. I really love this one. I think this is really great for committees or teams that are working together to make sure that whoever's taking the notes that day gets all of the same items listed, so that you have consistent meeting notes from one note-taker to the next.
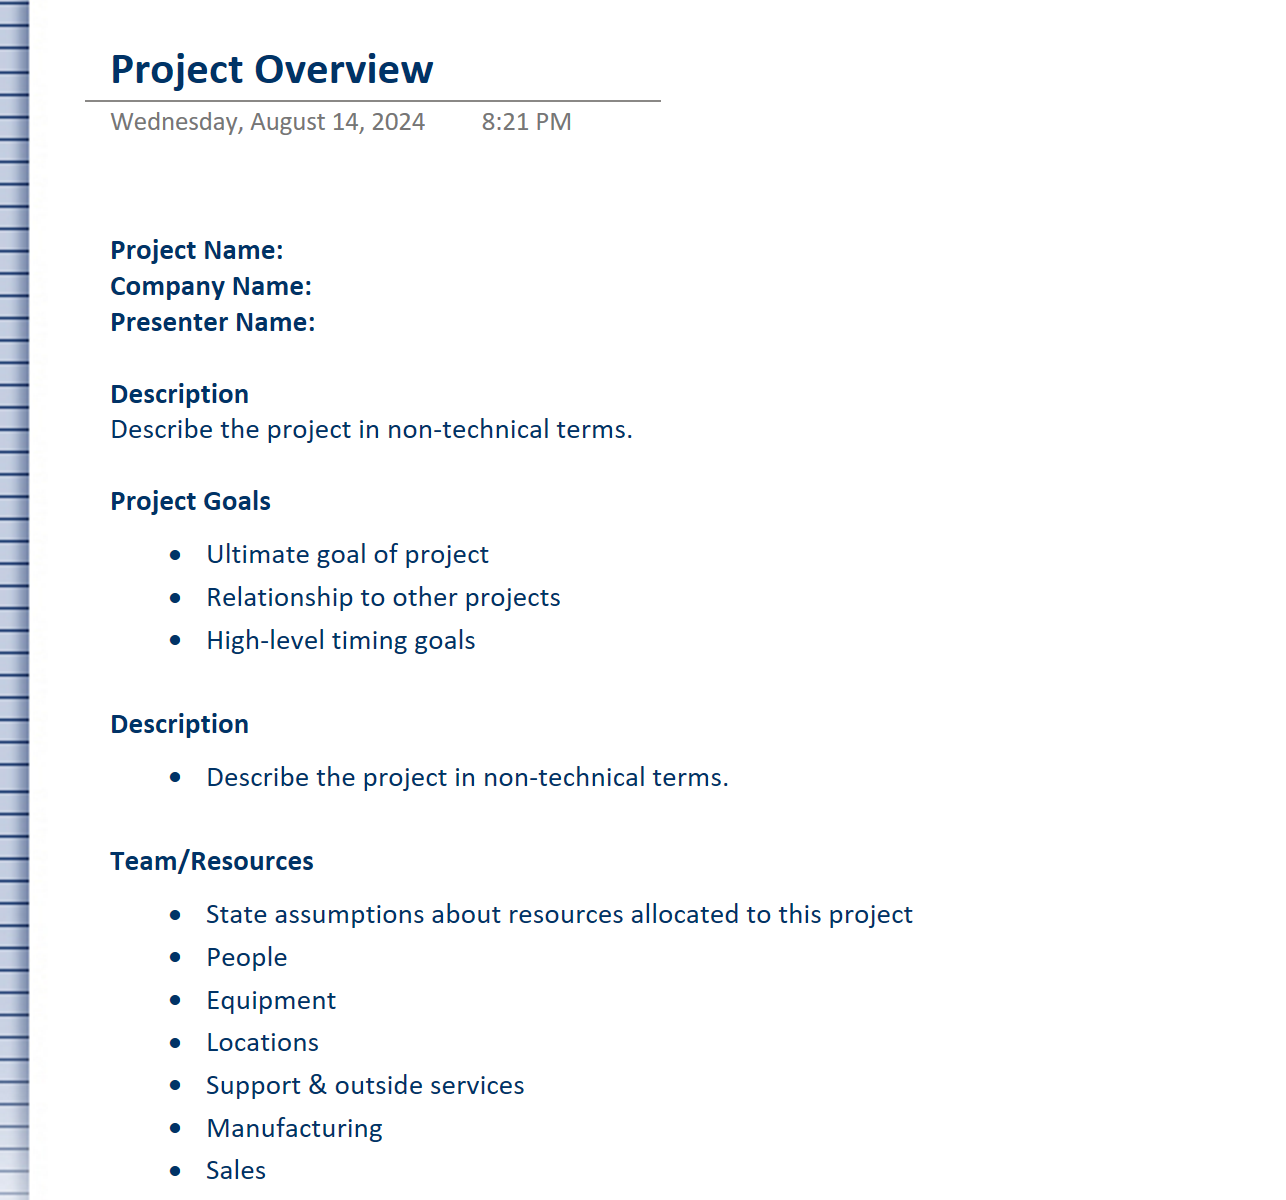
Project Overview includes description, goals, team resources, schedule, status, related documents, etc.
Project To-Do List
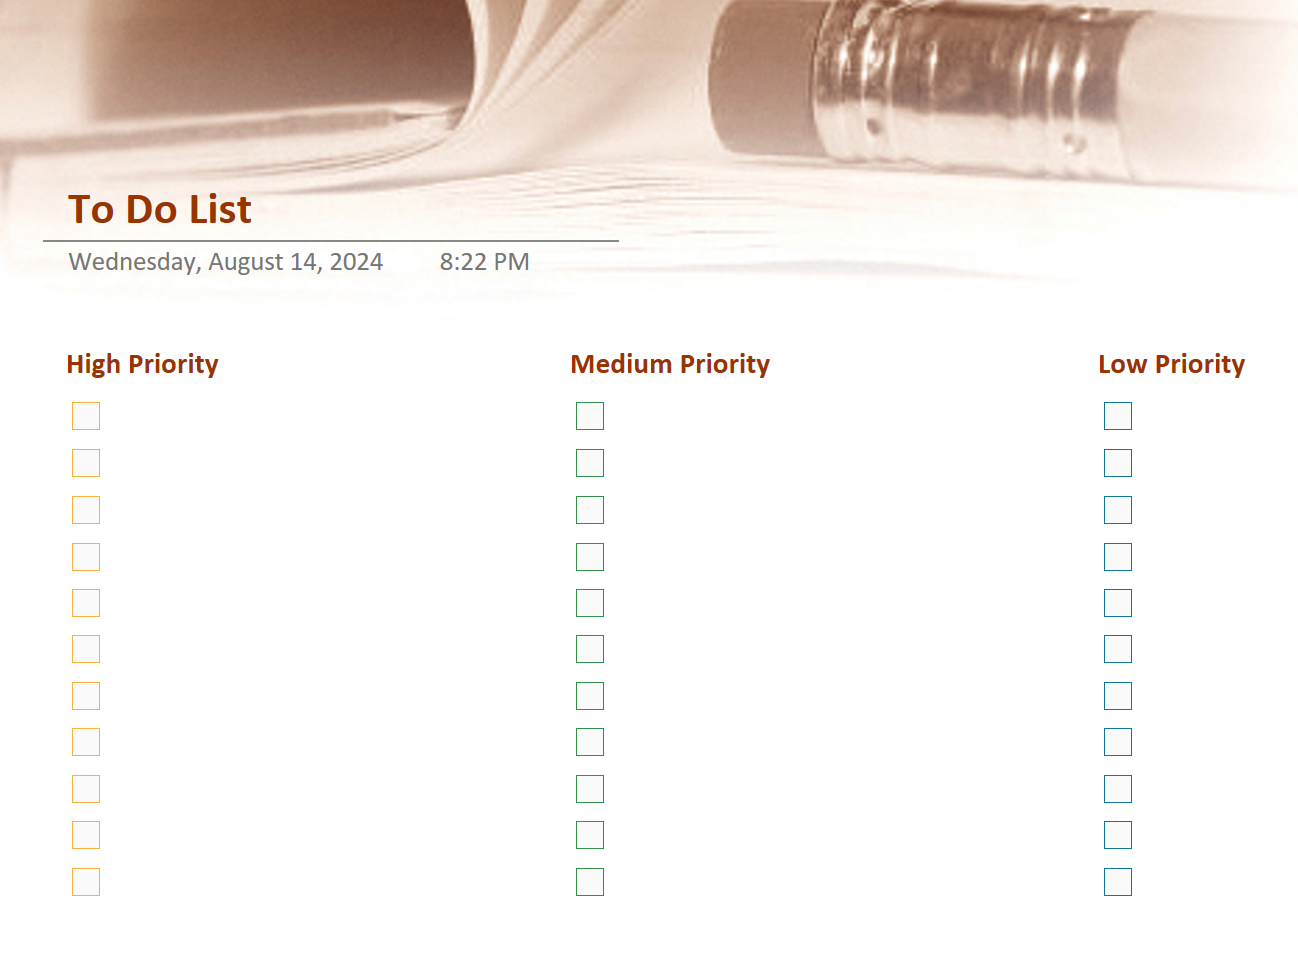
Prioritized List groups items by priority.
Once you’ve chosen your page template, you can start taking notes. You can do obviously all of the typical formatting that you would expect from Microsoft Word: bullets, numbering, fonts, colors, headings, and so on.
Under the insert menu, OneNote has a lot of great options for interacting with the rest of the Microsoft world. You can attach files. You can put in a spreadsheet. You can even create a new Excel spreadsheet, right within your page. You can insert a screenshot or pictures or even video or links. You can even record video and then transcribe it. I think that would be really handy for meeting minutes. If you're responsible for meeting notes, you can just record the meeting and then transcribe it.
There are also some nice features in the Draw menu. You can use a highlighter. I can draw with touch, or put in shapes. Here’s where OneNote is definitely a little more functional than taking notes in Microsoft Word.
Under the Review tab, like with Word, you have spell check and a thesaurus. There's a translate button so you can translate text to a different language. It even offers proofreading in other languages.
That’s a basic overview of what Microsoft OneNote can do. If you’re interested in seeing it in action, along with some of the more powerful integration with Microsoft Outlook, check out my online course, 3 Microsoft Apps You Didn’t Know You Need.
Next time on the blog, I’ll talk about how to use tagging and other OneNote features for organization and productivity.
